
I do believe I've completed the biggest portions in my Family Room Remodel project. I have carpet installing in about a week, but I have a local store doing that for me. Now it's all about finishing the details, but as I make the list of small details to finish up, the list is incredibly long.
Fill nail holes, paint the trim, add baseboard, finish window trim, finish the entryway, finish the sub-floor in the hallway, tear the carpet off the stairs, paint, paint, paint and more paint! The list is only a partial list.
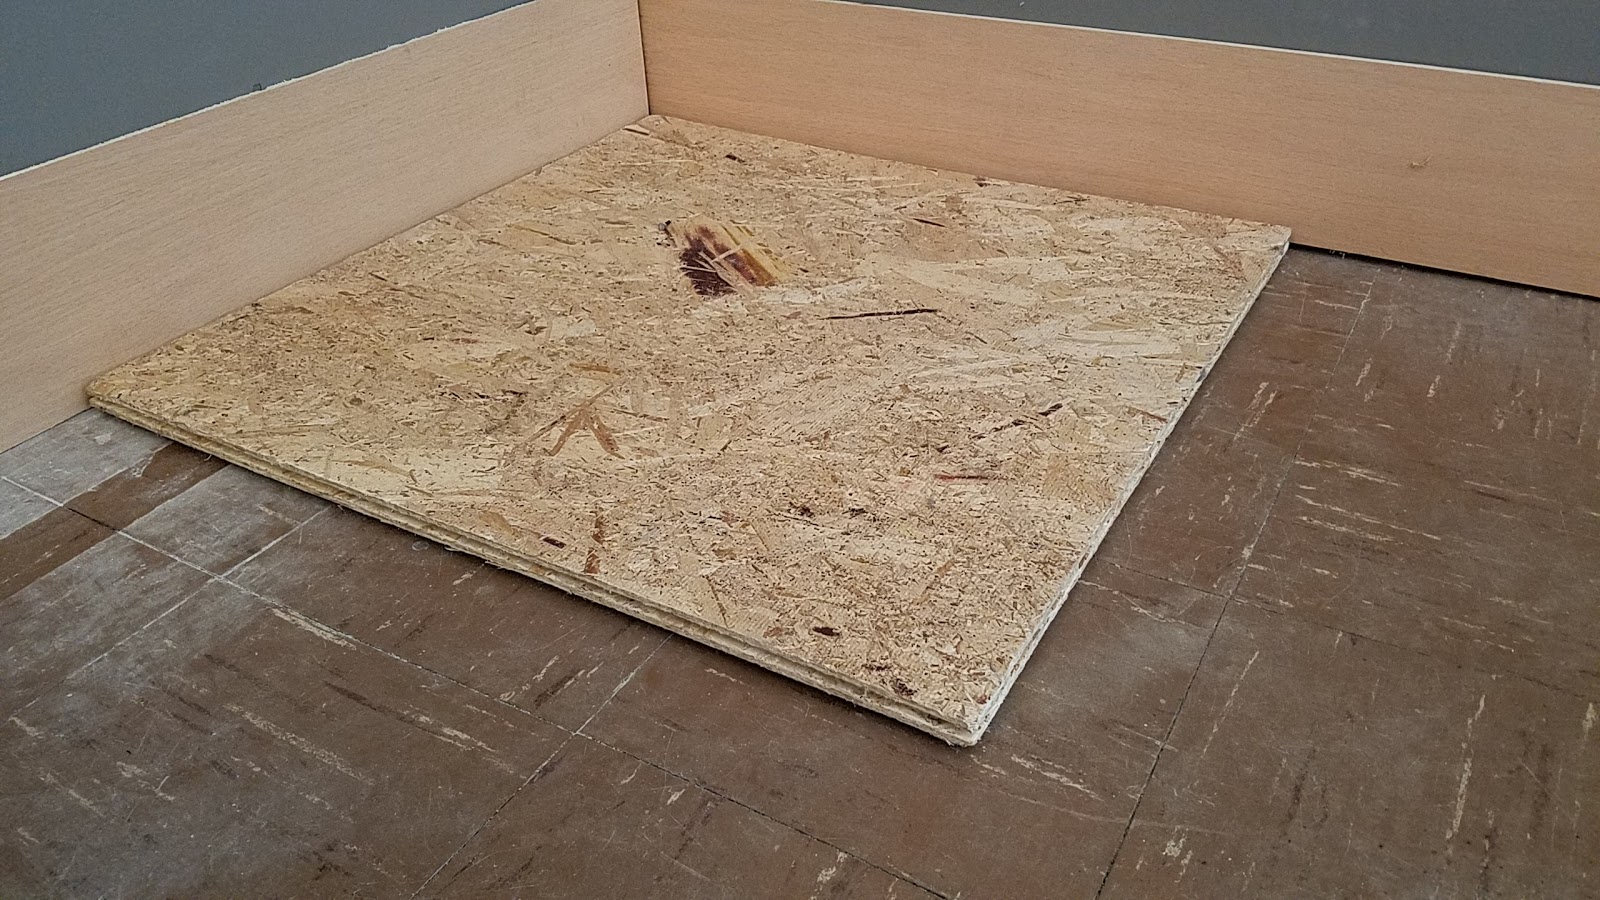
My home has a partial basement, so we have the ledge around the foundation to deal with in every room. On the TV wall, I've eliminated this but the rest of my basement will have this ledge. I had removed the board on the half wall about 15 years ago when I originally attempted to remodel this room. I disliked most everything I did to the room at the time, so I stopped working on it.
Originally the room was white walls with brown accent color. It was an odd combo, but adding paint and removing some of the brown at the time just made it worse. To finally get rid of all of the brown this year puts a smile on my face. Now that I think about it more, the white walls were actually paneling nailed over drywall. Where there paneling edges came together, there was a brown piece of wood cover them. I'm unsure if I even have any photos of the original room.
I started by sanding the ledge. I totally loved the look of it in the photo, however we are painting it white. You can see the original brown color on the window sill ledge. There is also a splash of green on the end of that ledge from my original attempt at remodeling.

The blue tape goes on and the painting begins! And yes, I will remove the hardware before I start the paint on the windows.

It will take four coats of paint to stop the brown color from bleeding through the white, but oh my this looks wonderful now. I need to add a blank wall cover to my list of things to purchase to cover that old cable inlet. We will never use that outlet again.

Project Links -
It's a new day. In Part One of my Crown Molding Blog Post, I installed my first two pieces in about three hours. I was fine with that since this was my first time installing crown molding. It gave me confidence and I was ready to tackle the rest of the room. Here is Part Two and the conclusion of this part of the project.
My next two pieces to install will connect the first of two outside corners in this room. A nine foot section above the HDTV and a twelve inch section to complete the entryway. This also is my first outside corner. This was different because the crown molding will extend beyond the corner and makes the piece I cut just a couple inches longer than what I measure for the wall length. Cut it too short, and it wont meet up with the other side of the corner. My gut said to cut it just a tad longer than what I measure, then trim it down to here it needs to be so it matches up nicely with the other side. That was the right idea and this corner turned out great since it was exactly 90 degrees.

Over on the other corner of the nine foot section, I have my left speaker wire coming out of the wall. This too will be hidden with the crown molding. Oh yeah, to install the last two pieces took about an hour and a half. So I improved my time from yesterday!

My longest wall in the room, about 18 feet in length. It felt like I did half the room, even though this was only two more pieces of Crown Molding. That is round two of the Stanley Cup playoffs between Nashville and St Louis that I was watching.

The last portion of the crown molding has two inside corners and one outside corner. The last piece, as you can see ends with the other side of my fireplace. My fireplace covers two walls, no seriously, two walls. These three corners were a bit challenging. The two inside corners were 92 degrees, the outside corner was 86 degrees. So I found a chart that gave me slightly different bevel and miter cuts to account for the non-square corners. They turned out fairly well. You can clearly see the gaps in the corners, but they are minimal.

After adding the painters caulk to the nail holes and corners, it looks flawless! I also painted over the caulk so in case it discolors in ten years, the holes wont reappear.

This is just a closer look at the finished caulk job. Next up is painting window trim, adding baseboard and finally getting carpet installed.

I spoken with several people about installing crown molding and they've made me worried, very worried. One said they couldn't quite make the corners meet. Another said to just hire someone to do it. While another said, it's simple, you just have to cut it upside down and backwards. His words still confuse me. So, my first adventure in crown molding begins....
About eight years ago, my parents, for Christmas, purchased us 90 feet of crown molding. It was a great gift as we wanted to put crown molding in our family room. The problem was, I didn't have a miter saw, didn't have the time and I wanted to redo the room, but it just wasn't happening for a while. So it sat, and sat, and sat until now.
I measured the walls that I would be installing it on, determined I only needed 54 feet of it. So I painted six of the ten foot sections. This gives me very little room for error of painted, but I do have 30 feet of unpainted to work with.

I did do quite a bit of reading from bloggers of others who have successfully installed crown molding. I wanted to learn their tips, tricks and ideas. My wife's favorite tool is Pinterest, so I started there. This was quite handing in finding specific articles, even though Pinterest is basically just bookmarks that are shared. It works great and is a bit easier than searching via the internet for some things.
The best article I found was one titled: Templates Make Cutting Crown Molding A Breeze! - I can't tell you enough how easy these templates made it to visualize every cut I needed to make. I brought my 10" sample cuts into the room to make sure I had the correct cuts in mind, then followed the instructions I wrote on each one.
There are only four cuts you will make: Inside Right, Inside Left, Outside Right, Outside Left. If you read the article I reference in the above paragraph, you can read easier what is written on each template.

In this photo, I've brought my two outside cuts together for you to see how well they join together. The templates works perfectly as long as your angles are 90 degrees. If they are slightly off, you will need to adjust your angles a bit. There is Crown Molding Angle Chart to help with this! My crown molding sits on the wall at 45 degrees, so I use the 45/45 chart, then find the angle of my corner and adjust the miter and bevel accordingly. It gets you close enough.

The last article I read was for Making A Jig To Hold Your Crown Molding at the correct angle while you nail it in place. It was brilliant, except my crown molding was so easy to keep at a 45 degree angle.

I never used it for myself while installing. However, since I had ten foot sections and needed help holding the long pieces on the wall, my helper used it while standing flat footed on the floor. So in the end, it was a great tool to use.

I am running speaker wire behind my crown molding, and this is where it enters my ceiling. I had to stop it short of the fireplace that is also in this room. The rear ceiling speakers will sit just behind the couch when they are installed.

Starting in a lesser viewed corner was a good place to start, so I picked the doorway out of the house as we hardly use this entrance. There is a four foot section above the door and a longer wall of about eighteen feet. With my handy templates in hand, I would be making an Inside Left and an Inside Right corner cuts. The cuts were simple, the corners met up when I pieced them together, it was time to setup the finishing nailer. My first corner was acceptable. The nailer brought the wood deeper into the corner than I realized would happen and gave me a slight gap. Filler will hide and will be invisible at that point.

If you recall in the photo above, this is where the speaker wire enters into the ceiling. Nice, clean and now hidden from sight. I just hope I didn't put a nail through wire!

It was a great start, one that gave me optimism that I could actually finish this part of the project. I installed my first three pieces of crown molding tonight, one corner completed, seven corners to go. Total time to finish the short and long wall was three hours! I hoped it would get faster as I figured out the learning curve. That was however, all the time I had for this evening, as it was getting near 10:30 PM.

About eight years ago, my parents, for Christmas, purchased us 90 feet of crown molding. It was a great gift as we wanted to put crown molding in our family room. The problem was, I didn't have a miter saw, didn't have the time and I wanted to redo the room, but it just wasn't happening for a while. So it sat, and sat, and sat until now.
I measured the walls that I would be installing it on, determined I only needed 54 feet of it. So I painted six of the ten foot sections. This gives me very little room for error of painted, but I do have 30 feet of unpainted to work with.

The best article I found was one titled: Templates Make Cutting Crown Molding A Breeze! - I can't tell you enough how easy these templates made it to visualize every cut I needed to make. I brought my 10" sample cuts into the room to make sure I had the correct cuts in mind, then followed the instructions I wrote on each one.
There are only four cuts you will make: Inside Right, Inside Left, Outside Right, Outside Left. If you read the article I reference in the above paragraph, you can read easier what is written on each template.

In this photo, I've brought my two outside cuts together for you to see how well they join together. The templates works perfectly as long as your angles are 90 degrees. If they are slightly off, you will need to adjust your angles a bit. There is Crown Molding Angle Chart to help with this! My crown molding sits on the wall at 45 degrees, so I use the 45/45 chart, then find the angle of my corner and adjust the miter and bevel accordingly. It gets you close enough.

The last article I read was for Making A Jig To Hold Your Crown Molding at the correct angle while you nail it in place. It was brilliant, except my crown molding was so easy to keep at a 45 degree angle.

I never used it for myself while installing. However, since I had ten foot sections and needed help holding the long pieces on the wall, my helper used it while standing flat footed on the floor. So in the end, it was a great tool to use.

I am running speaker wire behind my crown molding, and this is where it enters my ceiling. I had to stop it short of the fireplace that is also in this room. The rear ceiling speakers will sit just behind the couch when they are installed.

Starting in a lesser viewed corner was a good place to start, so I picked the doorway out of the house as we hardly use this entrance. There is a four foot section above the door and a longer wall of about eighteen feet. With my handy templates in hand, I would be making an Inside Left and an Inside Right corner cuts. The cuts were simple, the corners met up when I pieced them together, it was time to setup the finishing nailer. My first corner was acceptable. The nailer brought the wood deeper into the corner than I realized would happen and gave me a slight gap. Filler will hide and will be invisible at that point.

If you recall in the photo above, this is where the speaker wire enters into the ceiling. Nice, clean and now hidden from sight. I just hope I didn't put a nail through wire!

It was a great start, one that gave me optimism that I could actually finish this part of the project. I installed my first three pieces of crown molding tonight, one corner completed, seven corners to go. Total time to finish the short and long wall was three hours! I hoped it would get faster as I figured out the learning curve. That was however, all the time I had for this evening, as it was getting near 10:30 PM.

Now that I have finally hung the HDTV, Phase One is completed and Phase Two begins. What was on the to do list for Phase One, hang the TV in a recessed wall box, but there was a lot of steps to get to that point. Phase Two is a little simpler, but there is more to do that are cosmetics and finishing touches. First is to add a sub-floor, then crown molding, door and window trim, and finally carpet and baseboard trim. Once all of those smaller projects are completed, Phase Three of building items for the room will finish up the project.
We still have some of the original carpet laid on top of bare cement from when we first moved into our home. It's that ugly flat, cheep grey carpet that was installed by the previous owners and possibly the original owners of the home. The worst part of this carpet is the cold cement floor in the winter months. If you live in the north and have walked on a cement floor in February, you know exactly how cold it can feel.
Adding the sub-floor is just about as exciting as hanging my HDTV. It will warm the room up and no more walking on a cement floor! DRICore makes a wonderful sub-floor product that we are using in our Family Room Project. These are 2' x 2' tongue and groove panels, that install very easy. As you can see in the photo below, the bottom has a rigid plastic that keeps the wood panel off the cement and gives a moisture barrier. You only lose 7/8" of in inch in height.

For the room we have we needed 77 panels to complete the project. When I made a run to Menards, our local hardware store, they only had 32 of the panels in stock at the time, so I purchased all they had. They recommend you bring them into your home for 24 hours before you work with them so they can acclimate to the conditions in your home. Since I only had 32 panels, I could only complete a little less than half of the room.

If you look closely in the stack of panel photos, you can see the drywall installed by the previous owners is sitting directly on the ground. DRICore recommends the drywall sits 1/2 in above the panels. So I came up with this elaborate system to cut the bottom of the drywall without banging into the cement wall behind it.

I worked rather well, it just left a mess behind it. That's no surprise since drywall can leave quite the mess when your working with it.


The first piece goes down, tongue side into the corner with a 1/4 inch spacer from the wall. This allows the floor to breath over the changing of the seasons. It's a floating floor, however since we are adding carpet, I will add anchor screws to hold the perimeter in place while the carpet stretches.

Starting the second row, you stagger the panels to add strength as you never want to have four corners touching each other. I have not connected the boards in the photo so you can easily see the outline of each panel.


There is one area, near the door to exit my basement, that we need to add ceramic tile instead of the sub-panels. This is because we are adding a steel entry door and cannot cut off the bottom, nor raise the door up to accommodate the lost 7/8". We did have to use the floor leveling panels to adjust for the depth of the removed ceramic tile. We are not covering the exact area used by the old tile, just a smaller portion.

There are 33 panels in place or almost half of the room and I am out of panels at this point.

It's a new day, and I paid a visit to another Menards to purchase more of the DRICore panels.

Up until this point, my rows have been full panels with a half panel on the ends. My fireplace presents a couple of angles and not quite square corners.

Working on the last two rows and doing the most cutting to fit the last of panels into place. Not surprising, the last two rows took the longest to install.

But once the last piece went down, the room felt warmer.

This is the view standing in my hallway. The hallway will need the panels installed, as well as the other rooms down here. The hallway will be done soon, while the other rooms will come in time.

We still have some of the original carpet laid on top of bare cement from when we first moved into our home. It's that ugly flat, cheep grey carpet that was installed by the previous owners and possibly the original owners of the home. The worst part of this carpet is the cold cement floor in the winter months. If you live in the north and have walked on a cement floor in February, you know exactly how cold it can feel.
Adding the sub-floor is just about as exciting as hanging my HDTV. It will warm the room up and no more walking on a cement floor! DRICore makes a wonderful sub-floor product that we are using in our Family Room Project. These are 2' x 2' tongue and groove panels, that install very easy. As you can see in the photo below, the bottom has a rigid plastic that keeps the wood panel off the cement and gives a moisture barrier. You only lose 7/8" of in inch in height.

For the room we have we needed 77 panels to complete the project. When I made a run to Menards, our local hardware store, they only had 32 of the panels in stock at the time, so I purchased all they had. They recommend you bring them into your home for 24 hours before you work with them so they can acclimate to the conditions in your home. Since I only had 32 panels, I could only complete a little less than half of the room.

If you look closely in the stack of panel photos, you can see the drywall installed by the previous owners is sitting directly on the ground. DRICore recommends the drywall sits 1/2 in above the panels. So I came up with this elaborate system to cut the bottom of the drywall without banging into the cement wall behind it.

I worked rather well, it just left a mess behind it. That's no surprise since drywall can leave quite the mess when your working with it.

It cleaned up well and I was just off by a tad matching up to the bottom of the wall that I built. But you can clearly see the cement wall.

The first piece goes down, tongue side into the corner with a 1/4 inch spacer from the wall. This allows the floor to breath over the changing of the seasons. It's a floating floor, however since we are adding carpet, I will add anchor screws to hold the perimeter in place while the carpet stretches.
Starting the second row, you stagger the panels to add strength as you never want to have four corners touching each other. I have not connected the boards in the photo so you can easily see the outline of each panel.

There really isn't much you need for tools to install the product. A hammer, a board to smack the panels into their groove, tape measure, a crowbar or some type of pry-bar, and a saw to cut the panels.

There is one area, near the door to exit my basement, that we need to add ceramic tile instead of the sub-panels. This is because we are adding a steel entry door and cannot cut off the bottom, nor raise the door up to accommodate the lost 7/8". We did have to use the floor leveling panels to adjust for the depth of the removed ceramic tile. We are not covering the exact area used by the old tile, just a smaller portion.

There are 33 panels in place or almost half of the room and I am out of panels at this point.

It's a new day, and I paid a visit to another Menards to purchase more of the DRICore panels.

Up until this point, my rows have been full panels with a half panel on the ends. My fireplace presents a couple of angles and not quite square corners.

Working on the last two rows and doing the most cutting to fit the last of panels into place. Not surprising, the last two rows took the longest to install.

But once the last piece went down, the room felt warmer.

This is the view standing in my hallway. The hallway will need the panels installed, as well as the other rooms down here. The hallway will be done soon, while the other rooms will come in time.

The best laid plans of mice and men often go awry....
Painted black, blue taped, in this simplistic layout, there lies a flaw. One large, obnoxious flaw. It's all there, black and white, right there for you to see. No wait, I have not revealed this yet, so not so obvious for you.
I purchased from Amazon, a very simple and inexpensive flat HDTV stand from Cheetah for about $24 dollars. It mounts flat to the wall, connect it to the recessed box, hang the TV and done. However, that works great for a wall that is flat, not recessed. You see, with a 65" HDTV to be mounted, that leaves one inch of space to get your hands around the back to connect all of the wires or do ANYTHING in the back of the TV. That's a big problem!
So, my inexpensive stand went to the wayside and will be used elsewhere. I had to research a new articulating HDTV wall mounting bracket. I deceided on the ECHOGEAR EGLF1-PK for about $80 bucks (as of this posting). If you are in need of a heavy duty stand, this one is just what you need for a reasonable price. My 65" Samsung weighs 72 pounds and the stand is rated for 132 pounds.

The new mounting bracket was a bit larger than the first bracket, and that created yet another problem. Where I needed to mount the bracket to the wall, it now partly covered the 3-Gang Box. I needed to lower the box to accommodate the larger base of the new stand. My first thought was to remove the entire wooded recessed box and replace the back panel.


I used my Kreg Jig to build the wooded recess box, so naturally I used this to reattached the removed piece of wood. I don't own a biscuit joiner, but that would have also got the job done.


First coat of gray is on the walls. This four foot doorway leads to the upstairs.

Panning out on the TV side of the room, in this photo, I have not moved the 3-Gang box. But that is all spelled out above.

A closer look at the Echogear wall mounting bracket and how everything fits behind the TV now. Nevermind all of that ceiling debris, it's all cleaned up now.

And finally, the front of the TV, mounted in the recessed box with an inch of space to spare.

Painted black, blue taped, in this simplistic layout, there lies a flaw. One large, obnoxious flaw. It's all there, black and white, right there for you to see. No wait, I have not revealed this yet, so not so obvious for you.
I purchased from Amazon, a very simple and inexpensive flat HDTV stand from Cheetah for about $24 dollars. It mounts flat to the wall, connect it to the recessed box, hang the TV and done. However, that works great for a wall that is flat, not recessed. You see, with a 65" HDTV to be mounted, that leaves one inch of space to get your hands around the back to connect all of the wires or do ANYTHING in the back of the TV. That's a big problem!
So, my inexpensive stand went to the wayside and will be used elsewhere. I had to research a new articulating HDTV wall mounting bracket. I deceided on the ECHOGEAR EGLF1-PK for about $80 bucks (as of this posting). If you are in need of a heavy duty stand, this one is just what you need for a reasonable price. My 65" Samsung weighs 72 pounds and the stand is rated for 132 pounds.

The new mounting bracket was a bit larger than the first bracket, and that created yet another problem. Where I needed to mount the bracket to the wall, it now partly covered the 3-Gang Box. I needed to lower the box to accommodate the larger base of the new stand. My first thought was to remove the entire wooded recessed box and replace the back panel.

That was a ton of work and not a simple solution, even though it would be a cleaner look when finished. Instead, I decided to cut a chunk of wood out and move that piece up. This would give the exact same shape for the 3-Gang box. Yes, that is flat black paint and it marks up way too easy. In the future, I would use some type of matte finish if you paint your box.

I used my Kreg Jig to build the wooded recess box, so naturally I used this to reattached the removed piece of wood. I don't own a biscuit joiner, but that would have also got the job done.

I had to come up with some way to hold the filler piece in place while I screwed it in place. So this odd design, using brackets and scrap wood was an odd sight to see. However, there was just enough room to get the drill in place to tighten all of the screws.

Kreg also sells the wooded plugs to cover the holes. This was my first time using them and they worked wonderful. A little bit of wood filler, some sanding....

One final coat of my ugly black flat paint and it looks as good as new. If you enlarge the photo, I'm sure you can make out the trace of where the original location was, but once the TV is in place, I have no idea what mistake I made.

While I was monkeying around with moving the 3-Gang Box, I was painting the room to the gray color wifey and I had selected. Aside from the frame around the HDTV, we will paint all of the trim work white. Here is the last of the before photos, green walls, furniture in the middle of the room.

First coat of gray is on the walls. This four foot doorway leads to the upstairs.

Panning out on the TV side of the room, in this photo, I have not moved the 3-Gang box. But that is all spelled out above.

A closer look at the Echogear wall mounting bracket and how everything fits behind the TV now. Nevermind all of that ceiling debris, it's all cleaned up now.

And finally, the front of the TV, mounted in the recessed box with an inch of space to spare.

